How to Make Vintage-Style Hooks
To make vintage-style hooks, start by gathering unique materials like reclaimed wood and antique silverware. Let your imagination flourish as you choose a design inspired by Art Deco or rustic farmhouse aesthetics. Smooth and clean the base before attaching the hooks, considering both looks and practicality. Add decorative elements like beads or stencils for a charming touch, and finish with a soft wax for warmth. There’s a lot more to explore for a truly creative project ahead!
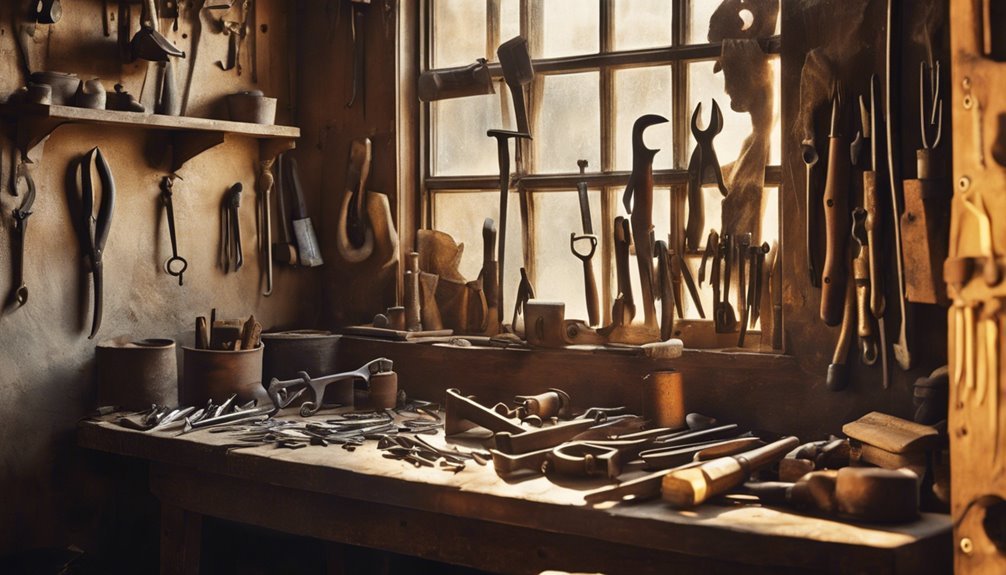
Gather Your Materials
To commence your journey of creating vintage-style hooks, you’ll need to gather a handful of essential materials that will spark your creativity. Start by exploring various material types—think reclaimed wood, wrought iron, or even antique silverware. Each offers a unique character that can transform your hooks into stunning pieces. Next, focus on tool selection; a sturdy saw, a drill, and a set of pliers are your best friends in this endeavor. Don’t forget sandpaper for that perfect finish, and perhaps some decorative elements like beads or rope. With these materials and tools in hand, you’re not just creating hooks; you’re crafting stories that invite freedom into your space. Let your imagination run wild, and enjoy the process!
Choose Your Design
As you begin your journey to create vintage-style hooks, let the charm of old pieces spark your imagination. Grab a sketchbook and pour your ideas onto the page, allowing the lines to flow as freely as your creativity. Remember, the materials you choose will not just define the look, but also the soul of your hooks, so select them with care.
Inspiration From Vintage Pieces
What vintage pieces spark your imagination? Maybe it’s the elegant curves of a 1920s Art Deco lamp or the intricate ironwork of an antique gate. Each piece tells a story, whispering secrets of design history that inspire your creativity. Immerse yourself in vintage aesthetics, and you’ll find a treasure trove of styles—from rustic farmhouse charm to glamorous Hollywood Regency. Think about how these elements can come together in your hooks. Perhaps you envision a hook shaped like a delicate leaf, echoing nature’s beauty, or one that mimics the geometric patterns of the past. Let your passion flow as you blend these influences, crafting unique hooks that not only serve a function but also celebrate the timeless allure of vintage design.
Sketching Your Ideas
A blank sketchpad is your canvas, waiting for the burst of inspiration that will bring your vintage-style hooks to life. Embrace the freedom of creativity as you explore various sketching techniques. Let your imagination roam, and don’t hold back!
Consider these ideas while brainstorming your design inspiration:
- Historical elements: Look at classic styles and motifs.
- Nature: Incorporate organic shapes or floral patterns.
- Mixed materials: Play with textures and finishes.
- Functionality: Think about how your hook will be used.
- Personal flair: Add your unique touch to set your hooks apart.
Sketching is about experimentation—so let your pencil dance across the page until the perfect design emerges!
Selecting Materials Wisely
While you explore your designs, selecting the right materials can make all the difference in achieving that vintage aesthetic. Consider wood types like oak or cherry for their warm tones, or reclaimed wood for a sustainable touch. Metal finishes, such as aged brass or wrought iron, can enhance the vintage look.
Here’s a table to guide your choices:
| Material | Key Features | Considerations |
|---|---|---|
| Wood Types | Warm tones, texture variations | Cost considerations, durability factors |
| Metal Finishes | Vintage patinas, aesthetics | Maintenance, longevity |
| Color Palettes | Earthy tones, muted shades | Style cohesion, personal taste |
Choose wisely, and your hooks will reflect both beauty and purpose!
Prepare the Base
Before diving into the crafting process, you’ll want to secure your base is perfectly prepared, as this foundation will ultimately determine the success of your vintage-style hooks. A well-crafted base not only enhances the vintage aesthetics but also guarantees durability and functionality. Begin by selecting the right materials, then focus on these essential base preparation steps:
- Sand the surface to a smooth finish
- Clean off any dust or debris
- Apply a primer to enhance paint adhesion
- Allow drying time to secure a solid foundation
- Consider adding decorative elements for added charm
With your base ready, you’re now free to release your creativity. Embrace the journey, and let the vintage vibes guide your hands!
Attach the Hook
Now that your base is ready, it’s time to think about where to place your hook for maximum charm. Consider the flow of your space, and let your artistic instincts guide you as you secure that hook in place. With a little care, you’ll create a stunning focal point that brings vintage flair to your home.
Selecting Hook Placement
Choosing the right placement for your vintage-style hooks can transform not just the functionality of your space but also its aesthetic charm. Think about how hook height and available wall space will influence your decor and daily routines.
- Consider the items you’ll hang and their sizes.
- Make certain the hooks are within easy reach for convenience.
- Use vertical space creatively to maintain an open feel.
- Group hooks in clusters for a cohesive look.
- Don’t overlook natural light; it can enhance the overall ambiance.
With thoughtful placement, your vintage hooks can serve as both practical tools and beautiful decorations, echoing a sense of freedom in your home while showcasing your unique style.
Securing the Hook
Once you’ve found the perfect spot for your vintage-style hooks, it’s time to bring them to life by securely attaching them to your wall. Start by choosing the right attachment techniques, ensuring maximum hook stability. If you’re mounting on drywall, pre-drill holes and use wall anchors for added strength; this will keep your hooks from sagging under the weight of your cherished items. For wood, a simple screw will do, but don’t forget to countersink for a polished look. As you secure each hook, visualize the freedom they’ll provide, hanging your beloved memories and treasures. Embrace the creative process, and watch how these vintage-style hooks transform your space, combining functionality with your artistic flair.
Add Finishing Touches
As you step back to admire your vintage-style hooks, you’ll find that the magic truly lies in the finishing touches. These details can elevate your work from ordinary to extraordinary. With the right finishing techniques and decorative elements, your hooks will radiate charm and character.
Consider adding:
- A soft wax finish for a warm glow
- Antique-style paint for a weathered look
- Decorative knobs or beads for flair
- Stencils or stamps for unique patterns
- A protective sealant to guarantee longevity
These embellishments don’t just beautify; they tell a story. Let your creativity shine, and embrace the freedom to experiment with different combinations. Your vintage hooks deserve to be as unique as you are!
Display Your Vintage Hooks
Finding the perfect way to display your vintage hooks can truly bring out their charm and character. Embrace vintage aesthetics by choosing display techniques that enhance their unique appeal. Consider a rustic wooden board as a backdrop, allowing the hooks to stand out against the grain. Hang them in a shadow box, creating a striking focal point that sparks conversation. You might also drape delicate fabrics behind them, adding warmth and texture. For an artistic flair, use a repurposed frame or old door, invoking freedom and creativity. Remember, it’s all about showcasing your personality while letting these vintage hooks shine. With the right display, they transform from mere tools into stunning pieces of art that celebrate your love for the past.
References
- https://en.wikipedia.org/wiki/Hooks_and_eyes
- https://www.nationalparkservice.gov/articles/using-vintage-hardware-in-restoration.htm
- https://www.craftcouncil.org/post/handmade-hardware
- https://www.oldhouseonline.com/home-repair/10-tips-for-using-vintage-hardware/
- https://www.thebalance.com/how-to-repair-or-replace-vintage-hardware-4061439