How to Install Hooks on Metal Surfaces
To install hooks on metal surfaces, start by choosing the right type of hook—either magnetic or adhesive based on your needs. Clean the surface thoroughly to remove dust or grease. Then, mark where you’ll install the hooks and drill holes if necessary. Secure the hooks tightly and test their stability by gradually adding weight. Regular maintenance will keep them functional. If you’re looking for more detailed steps, keep going to enhance your installation skills.
Understanding the Types of Hooks for Metal Surfaces
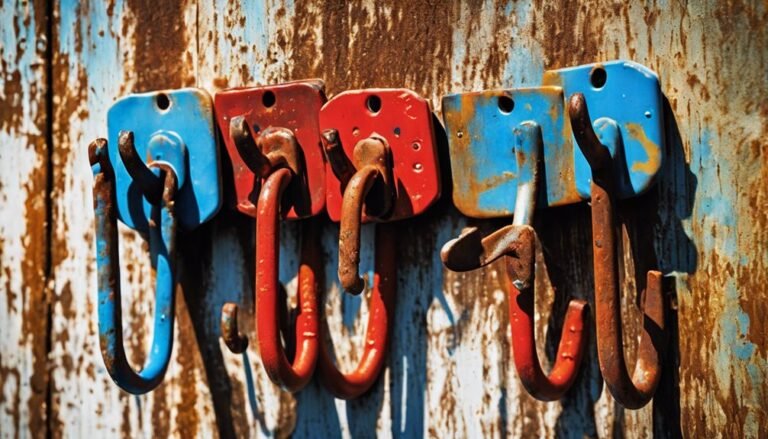
When it comes to hanging items on metal surfaces, choosing the right type of hook is essential. You’ve got two popular options: magnetic hooks and adhesive hooks. Magnetic hooks are ideal for quick and easy setups. They securely attach to any ferromagnetic surface, allowing you to reposition them without leaving any residue. They’re great for hanging tools, decorations, or even lights in a garage or workshop. On the other hand, adhesive hooks can be a good choice if you want a more permanent solution. They stick to the surface but might not hold as much weight as magnetic ones. Knowing the difference helps you decide what suits your needs best, giving you the freedom to organize your space effectively.
Choosing the Right Tools for Installation
When installing hooks on metal surfaces, having the right tools is vital for a successful project. You’ll need essential tools like a drill, screws, and a level, along with safety equipment such as goggles and gloves. Gathering these items beforehand will make your installation process smoother and safer.
Essential Tools Needed
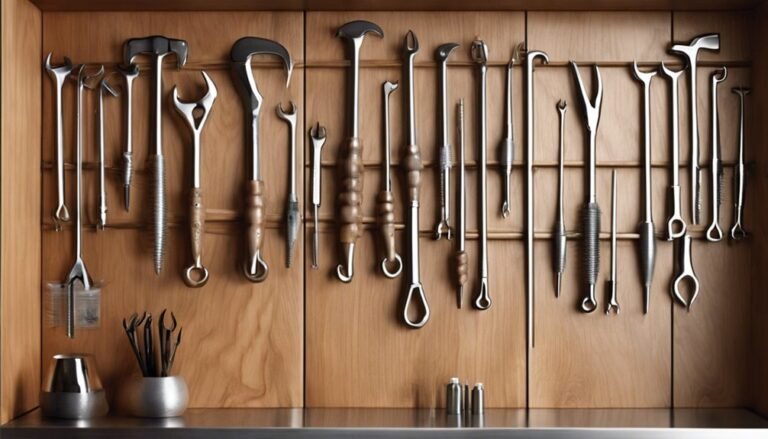
Before you begin installing hooks on metal surfaces, it’s important to gather the right tools to guarantee a smooth process. First, you’ll need a suitable drill with metal drill bits for creating holes if you’re using screws. Additionally, if you prefer adhesive hooks, you should consider the types of adhesives available, like epoxy or heavy-duty double-sided tape, based on the hook weight. A level is also vital to make sure your hooks are installed straight, while a measuring tape helps in precise placement. Finally, a pencil for marking can save you time and effort. With these important tools in hand, you’re well-prepared to install hooks securely and effectively on your metal surfaces.
Safety Equipment Considerations
Though installing hooks on metal surfaces can be straightforward, ensuring your safety is paramount. Using the right safety gear and personal protection can make all the difference. Below is a quick guide to help you choose the proper equipment for a secure installation.
| Safety Gear | Purpose | Recommended Type |
|---|---|---|
| Safety Goggles | Protects eyes from debris | Impact-resistant |
| Gloves | Shields hands from sharp edges | Cut-resistant |
| Ear Protection | Reduces noise during drilling | Noise-canceling |
| Dust Mask | Prevents inhalation of particles | N95 or similar |
Preparing the Metal Surface
Before you install hooks, it’s crucial to prepare the metal surface properly. Start by cleaning the area to remove any dust, grease, or rust, as this guarantees better adhesion. Next, choose an appropriate adhesive that can withstand the weight and conditions of your intended use.
Clean the Surface
To guarantee a secure installation of hooks, you need to start by thoroughly cleaning the metal surface. Effective surface preparation is essential, as dirt, grease, or rust can hinder adhesion. Begin by using a mild detergent mixed with warm water and a soft cloth to wipe down the surface. For tougher grime, consider using cleaning techniques like rubbing alcohol or acetone, which can cut through stubborn residues. After cleaning, rinse with clean water and dry the surface completely to prevent moisture from affecting the hook’s grip. Remember, the cleaner the surface, the better the bond will be once you apply your chosen adhesive. Taking the time to clean properly now will save you from headaches later on.
Choose Appropriate Adhesive
Once you’ve cleaned the metal surface, it’s crucial to select the right adhesive for your hooks. The adhesive types available include epoxy, super glue, and construction adhesive, each offering different bonding strengths. For heavier items, opt for a high-strength epoxy; it provides a robust bond that can handle weight without budging. If you’re hanging lightweight objects, super glue might be sufficient, but check its durability for long-term use. Construction adhesive is great for larger surfaces, guaranteeing a reliable hold. Before applying, verify the adhesive is compatible with metal and follow the manufacturer’s instructions for the best results. By choosing the right adhesive, you’ll guarantee your hooks stay securely in place, allowing you to organize freely without worry.
Marking the Installation Points
As you prepare to install hooks on metal surfaces, accurately marking the installation points is essential for a successful outcome. Start by determining the desired locations for your hooks. Use reliable marking techniques, like a pencil or a marker, to guarantee visibility. Measure carefully, utilizing a ruler or measuring tape, to achieve measurement accuracy. Double-check your measurements before marking to avoid errors. If you’re hanging multiple hooks, consider using a level to keep everything aligned. Once you’ve marked the points, you can confidently move on to the next stage of your installation. This careful preparation not only saves time but also enhances the overall aesthetic of your project, giving you the freedom to enjoy a well-organized space.
Drilling Holes for the Hooks
Drill into your marked points with precision to create holes for the hooks. Choosing the right drilling techniques and hole sizes is essential for a secure installation. Here are some tips to keep in mind:
- Use a high-speed drill bit specifically designed for metal.
- Start with a smaller pilot hole to guarantee accuracy.
- Gradually increase the hole size to match your hook specifications.
- Apply steady pressure without forcing the drill, preventing damage.
- Keep the drill bit cool by using cutting oil if necessary.
Securing the Hooks in Place
While securing the hooks in place, it’s crucial to guarantee they’re firmly attached to prevent any accidents or damage. Start by using the appropriate screws and anchors that match the weight capacity of the hooks. This guarantees they can support whatever you plan to hang without risk. For added hook durability, consider using a thread-locking adhesive on the screws; it’ll help keep them from loosening over time. Tighten each screw evenly, making certain the hooks sit flush against the metal surface. If you’re working with heavier items, double-check that your installation method aligns with the recommended weight capacity of your hooks. A secure installation not only enhances safety but also extends the life of your hooks, giving you the freedom to organize confidently.
Testing the Stability of the Installation
After securing the hooks in place, it’s important to test their stability to confirm they can handle the intended load. This load testing verifies the hooks maintain their durability and won’t fail under pressure. Here’s how to effectively check their stability:
- Start by gradually adding weight, beginning with lighter items.
- Observe any signs of bending or movement in the hooks.
- Increase the load incrementally, keeping track of the maximum weight.
- Test the hooks in various positions to assess stability from different angles.
- Finally, monitor the hooks over time for any changes in performance.
Tips for Maintaining Your Hooks and Metal Surfaces
To keep your hooks and metal surfaces in top condition, regular maintenance is key. Here are some essential hook maintenance tips and metal surface care practices:
| Task | Frequency | Tips |
|---|---|---|
| Clean hooks | Monthly | Use a damp cloth to remove dust and grime. |
| Inspect for rust | Quarterly | Look for rust spots; treat immediately. |
| Tighten screws | Every 6 months | Verify hooks are secure to prevent accidents. |
| Apply lubricant | Annually | Use a light oil to keep hooks functional. |
| Check load capacity | As needed | Don’t exceed weight limits to avoid damage. |
References
- https://www.wikihow.com/Install-Hooks-on-Metal-Walls
- https://www.extension.uidaho.edu/
- https://www.woodworkingnetwork.com/education/installation-hooks-metal-surfaces
- https://www.oregon.gov/ohcs/Pages/index.aspx
- https://www.homedepot.com/c/ab/how-to-install-a-hook/9ba683603be9fa5395fab9011a6d3be
- https://www.nbcnews.com/home-improvement/how-hang-things-walls-n1274836