How to Install Floating Hooks on Walls
Choosing the Right Floating Hooks
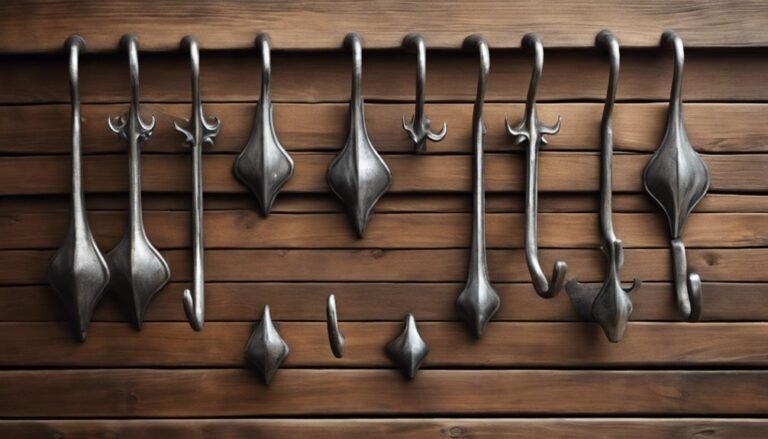
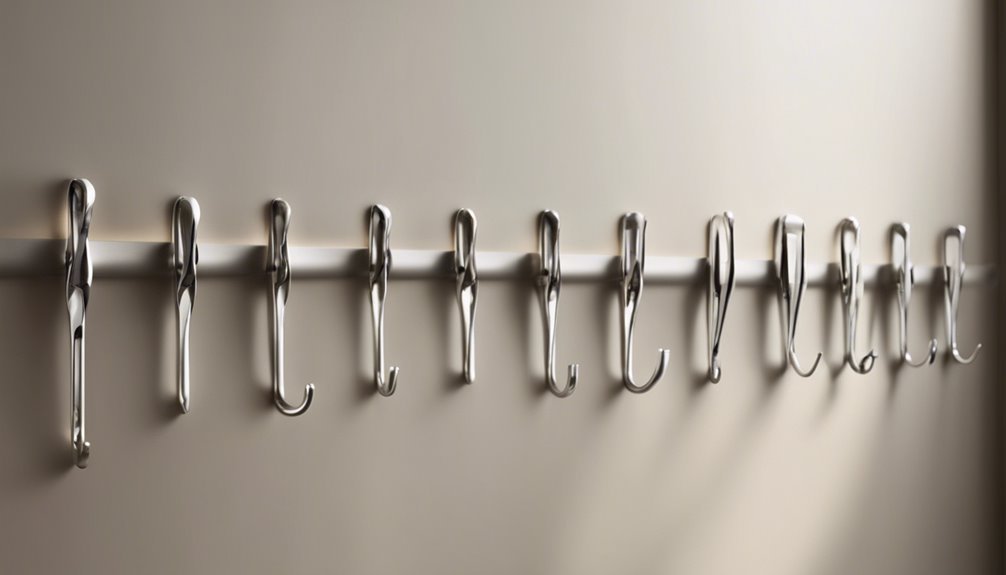
When it comes to choosing the right floating hooks, there are a few key factors to take into account. First, consider the design aesthetics of your space. You want hooks that not only serve a purpose but also enhance your decor. Look for styles that complement your existing furniture and color schemes. Next, think about hook materials. Durable options like stainless steel or heavy-duty plastic can offer both strength and longevity. If you’re going for a more rustic feel, wooden hooks might be the way to go. Remember, the right floating hooks should fit seamlessly into your lifestyle while providing the freedom to display or store your items creatively. Choose wisely, and you’ll enjoy both functionality and style.
Gathering Your Tools and Materials
Before you start installing floating hooks, you’ll need to gather a few essential tools and materials. First, grab a drill and the appropriate drill bits for your wall type. You’ll also want a level to guarantee your hooks are straight and a measuring tape for accurate placement. Don’t forget a pencil for marking spots!
In terms of material selection, make certain you have the right anchors and screws that fit your chosen hooks. Tool types can vary, so check the packaging for specific requirements. Having these items on hand will make your installation process smooth and efficient. With the right tools and materials, you’re one step closer to creating a stylish and functional space that reflects your freedom and creativity!
Selecting the Ideal Location on Your Wall
Before you install your floating hooks, take a moment to assess the available wall space. Make certain the area can comfortably accommodate the hooks and the items you plan to hang. Also, consider the weight capacity of each hook to guarantee they can support what you want to display.
Assess Wall Space Available
Selecting the ideal location for floating hooks on your wall requires a careful assessment of the available space. Start by looking at your wall space and envision how the hooks will fit into your room’s layout. Consider both functionality and wall aesthetics; you want hooks that enhance the look of your space while serving a purpose. Avoid overcrowding, as too many hooks can make your wall feel cluttered. Instead, choose an area that allows for easy access and showcases your items effectively. Think about the height and placement, ensuring they’re visible yet not obstructive. By thoughtfully evaluating your wall space, you’ll create a harmonious balance between practicality and style, giving your room the freedom to breathe.
Consider Hook Weight Capacity
While you’re determining where to place your floating hooks, it’s important to contemplate their weight capacity. Different hook materials come with varying limits, so check the specifications before you commit to a location. If you plan to hang heavier items, verify your hooks are made from durable materials like metal or reinforced plastic.
Additionally, consider weight distribution. Placing multiple hooks too close together can lead to excess strain on your wall and hooks, potentially causing damage. Spread out the load by selecting a wider area for installation. This not only enhances aesthetics but also supports the items you want to hang securely. By taking these factors into account, you can enjoy the freedom of organized space without worrying about your hooks failing.
Marking the Installation Points
Once you’ve gathered your materials, it is vital to accurately mark the installation points for your floating hooks. Use reliable marking techniques to guarantee precision and avoid any guesswork. Here’s how to do it:
- Select the desired height: Decide where you’d like your hooks to hang.
- Use measuring tools: A tape measure can help you find the right distance from the floor or ceiling.
- Mark the points: Use a pencil or painter’s tape to indicate where the hooks will go.
- Double-check alignment: Verify everything’s straight by using a level before finalizing your marks.
Drilling Holes for the Anchors
Now that you’ve marked your installation points, it’s time to drill holes for the anchors. Make certain you choose the right drill bit size for your anchors to guarantee a secure fit. Also, double-check your marked points before drilling to avoid any mistakes.
Choosing Drill Bit Size
Choosing the right drill bit size is essential for ensuring your floating hooks are securely anchored to the wall. The size directly impacts how well the anchors fit and hold. Here’s what to take into account:
- Material Type: Different drill bit materials, like high-speed steel or carbide, suit various wall types.
- Anchor Size: Match your drill bit size to the diameter of the anchors you’re using.
- Wall Composition: For drywall, use a smaller bit; for masonry, choose a larger, more robust bit.
- Drill Bit Types: Select between standard, masonry, or spade bits depending on your wall’s material.
Marking Anchor Placement Points
Before you start drilling, it’s crucial to accurately mark the anchor placement points to guarantee your floating hooks are positioned correctly. Begin by measuring wall dimensions to find the ideal spot for your hooks. Consider the height and location, confirming it works with your space. Next, determine hook spacing based on the items you plan to hang. Use a level to verify your markings are straight, which helps maintain a clean look. Once you’ve marked the points, double-check your measurements. This attention to detail will help you avoid unnecessary holes in the wall and confirm your hooks can support the weight of your items. With this groundwork laid, you’re ready to drill and hang with confidence.
Installing the Wall Anchors
Installing wall anchors is an essential step in guaranteeing your floating hooks can securely hold the intended weight. Before you begin, consider the wall material and choose the right type of anchors. Here’s a quick guide:
- Drywall Anchors: Great for light to moderate loads.
- Masonry Anchors: Perfect for brick or concrete walls.
- Toggle Bolts: Ideal for heavy items in hollow walls.
- Screw-in Anchors: Easy to install and effective for various weights.
Once you’ve selected the appropriate anchors, drill holes at your marked points. Make sure to follow the manufacturer’s instructions for depth and size. This will guarantee your floating hooks have the strength to support whatever you hang, giving you the freedom to personalize your space.
Attaching the Floating Hooks
With the wall anchors securely in place, you’re ready to attach the floating hooks. Start by selecting the right hook materials—metal or sturdy plastic work best for durability. Depending on your installation techniques, you may need a screwdriver or a drill. Align each hook with the anchors, making certain they’re level for a clean look. If using screws, gently insert them into the anchors, tightening until snug but not overly tight to avoid damaging the wall. For adhesive hooks, peel the backing and press firmly against the wall, holding for a few seconds to establish a strong bond. Double-check the alignment before proceeding, and remember to let adhesive hooks cure for the recommended time before hanging anything on them. Enjoy your newfound freedom!
Styling and Organizing Your Space With Floating Hooks
Once you’ve installed your floating hooks, you can transform your space into a more organized and stylish area. With their functional design, these hooks serve both practical and decorative purposes. Here are some ways to use them effectively:
- Create a stylish entryway by hanging bags, keys, and hats for easy access.
- Showcase your favorite art by hanging lightweight frames or prints, adding a personal touch.
- Organize kitchen utensils like aprons and measuring cups, keeping them within reach and on display.
- Display seasonal decor to easily switch up your space, reflecting your style throughout the year.
Embrace the freedom of a well-organized area while showcasing your creativity with floating hooks!
Frequently Asked Questions
Can Floating Hooks Hold Heavy Items Like Coats or Bags?
Yes, floating hooks can hold heavy items, but it depends on their load capacity and hook design. Always check the specifications to verify they fit your needs, allowing you the freedom to hang your belongings securely.
What Wall Materials Are Best for Floating Hooks?
When choosing wall materials for floating hooks, drywall types like standard or moisture-resistant work best. Smooth wall textures allow for better adhesion, ensuring your hooks stay secure while giving you the freedom to hang items effortlessly.
How Do I Remove Floating Hooks Without Damaging the Wall?
When you’re ready to set your wall free, use gentle removal techniques. Slide a plastic knife under the hook’s edge, easing it away. This’ll help prevent wall damage, leaving your space looking pristine and unblemished.
Can I Use Floating Hooks Outdoors?
Yes, you can use floating hooks outdoors, but guarantee they have outdoor durability and weather resistance. This’ll help you avoid issues with rust or damage, allowing you to enjoy your space freely without worry.
Are There Weight Limits for Different Types of Floating Hooks?
Oh sure, just hang your pet elephant on a floating hook! But seriously, weight capacity varies by hook materials. Check the packaging for limits; you wouldn’t want your prized collection crashing to the ground, right?
References
- https://www.wikihow.com/Install-Floating-Shelves
- https://www.houzz.com/magazine/how-to-hang-floating-shelves-stsetivw-vs~90798896
- https://www.bhg.com/home-improvement/advice/how-to-hang-shelves/
- https://www.woodmagazine.com/materials-guide/hardware/how-to-hang-shelves
- https://www.familyhandyman.com/project/how-to-install-floating-shelves/
- https://www.diynetwork.com/how-to/how-to-install-floating-shelves
- https://www.thespruce.com/how-to-install-floating-shelves-1822369