Best Hooks for Mounting Studio Lighting
For the best hooks for mounting studio lighting, consider heavy-duty metal hooks for durability or lightweight plastic options for flexibility. Adjustable wall mounts and portable tripods can enhance your setup, ensuring precise positioning. Always check weight capacities and use secure screws for installation. Regular maintenance is key to safety and performance. Explore alternative solutions like ceiling grids or magnetic bases for versatility. Together, these insights empower your lighting setup strategy while revealing even more options ahead.
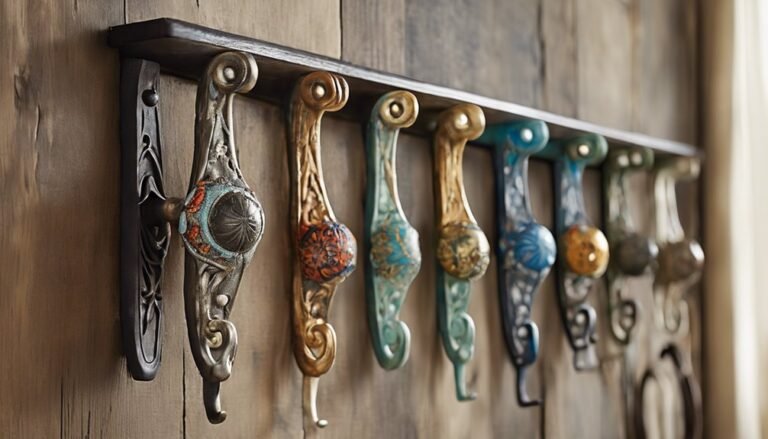
Understanding Different Types of Hooks
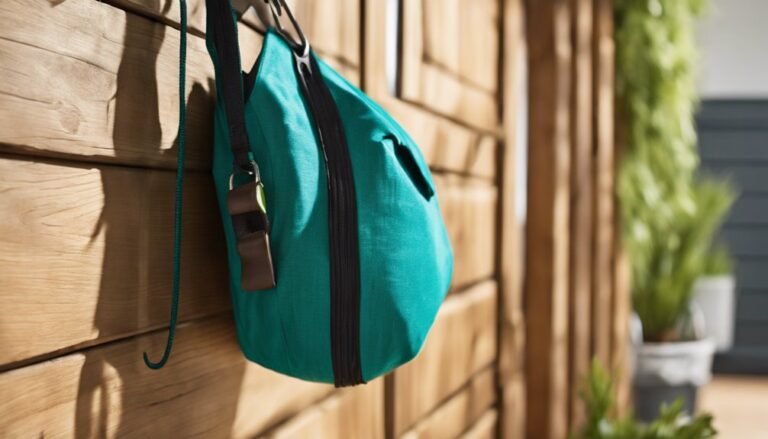
When you’re setting up your studio lighting, understanding the different types of hooks is essential for achieving the perfect setup. You’ll find various hook materials, like metal and plastic, each offering unique benefits for stability and ease of use. Metal hooks, often favored for their durability, can support heavier lights, while lightweight plastic hooks allow for more flexibility in positioning.
When it comes to hook designs, think about your specific needs. Swivel hooks provide versatility, letting you adjust angles effortlessly, while fixed hooks offer a more secure hold. By selecting the right combination of materials and designs, you’ll not only enhance your lighting setup but also maintain the freedom to experiment and create your perfect environment.
Key Features to Look for in Mounting Hooks
Choosing the right mounting hooks can greatly impact your studio lighting setup. When selecting hooks, you’ll want to reflect on hook materials—opt for durable options like steel or aluminum that can withstand daily use. The weight capacity is another vital factor; verify your hooks can comfortably support your lighting equipment without risk. Look for hooks that offer a secure grip and stability, as they’ll maintain the integrity of your setup even during adjustments. Additionally, contemplate the hook’s design—versatile shapes can enhance your creative freedom, allowing for easy repositioning of lights. By focusing on these key features, you’ll create a safe and efficient environment, enabling you to focus on what you love: capturing stunning visuals.
Top Hook Options for Studio Lighting
When it comes to mounting your studio lights, your choice of hooks can make all the difference. Heavy-duty ceiling hooks provide strength and stability, while adjustable wall mounts offer flexibility for precise positioning. For those on the go, portable tripod hooks are a game-changer, ensuring you can set up your lighting anywhere with ease.
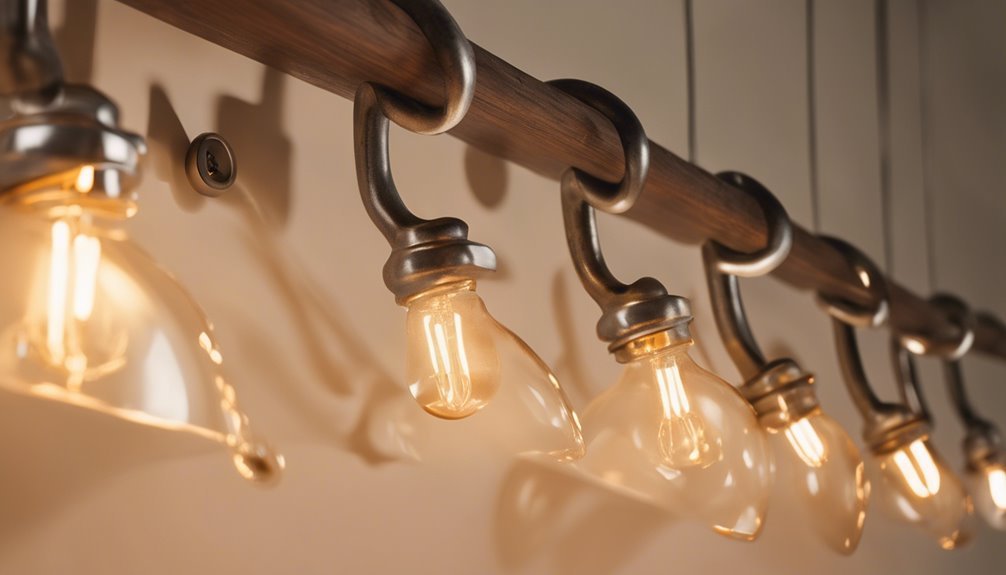
Heavy-Duty Ceiling Hooks
For any professional studio setup, selecting the right heavy-duty ceiling hooks is essential to confirm your lighting fixtures are securely mounted. You want to ascertain that the hooks you choose are made from heavy-duty materials, boasting a high load capacity to support your lighting gear effectively. Here’s a quick comparison of top options:
| Hook Type | Load Capacity |
|---|---|
| Steel Ceiling Hook | Up to 300 lbs |
| Adjustable Hook | Up to 200 lbs |
| Swivel Hook | Up to 250 lbs |
| Heavy-Duty Eye Hook | Up to 400 lbs |
| Bolt-On Hook | Up to 350 lbs |
Choosing the right hook not only enhances stability but also gives you the freedom to create the perfect lighting setup!
Adjustable Wall Mounts
While heavy-duty ceiling hooks provide robust support for overhead lighting, adjustable wall mounts offer an equally flexible solution for studio setups. With adjustable height features, you can easily modify your lighting position to achieve the perfect angle and intensity. Plus, these mounts boast wall durability, ensuring your gear stays secure through every shoot.
Here are some top options to evaluate:
- Tilt-and-Swivel Mounts: Adjust angles effortlessly for ideal light positioning.
- Lockable Adjustable Arms: Securely hold lights at your desired height.
- Heavy-Duty Brackets: Designed for larger lights, ensuring stability.
- Quick-Release Mechanisms: Easily swap lights in and out without hassle.
- Multi-Point Systems: Attach multiple lights for expansive coverage.
These mounts empower you to create the perfect lighting environment.
Portable Tripod Hooks
If you’re looking for versatility in your studio lighting, portable tripod hooks can be a game-changer. These hooks allow you to attach your lights to any standard tripod, giving you the freedom to set up your portable lighting wherever inspiration strikes. With options designed for quick attachment and removal, you won’t waste precious time. Look for hooks that provide excellent tripod stability, ensuring your lights stay secure even in dynamic shooting conditions. Many come with adjustable height features, allowing you to customize your light placement on the fly. Whether you’re shooting indoors or outside, these hooks offer the flexibility you need to create stunning visuals without being tethered to a fixed location. So, grab those portable tripod hooks and release your creativity!
How to Properly Install Mounting Hooks
When it comes to installing mounting hooks for your studio lighting, choosing the right hook type is essential for ideal support and functionality. You’ll also want to take into account proper placement techniques to guarantee your lights are securely positioned and aligned. Don’t forget to adhere to safety precautions—after all, a well-lit space should also be a safe one.
Choosing Ideal Hook Type
Choosing the right type of hook for mounting your studio lighting can greatly impact both safety and functionality. It’s essential to take into account various hook materials and installation techniques that align with your creative setup.
- Metal Hooks: Durable and reliable; great for heavy equipment.
- Plastic Hooks: Lightweight and easy to install; perfect for smaller lights.
- Swivel Hooks: Offer flexibility in positioning your lights.
- Adjustable Hooks: Allow for height changes; perfect for versatile setups.
- Adhesive Hooks: Useful for temporary setups without damaging surfaces.
Correct Placement Techniques
Properly installing mounting hooks is essential for guaranteeing your studio lighting setup is both secure and effective. Start by determining the ideal light angle based on your desired beam spread. You’ll want to position the hooks at an appropriate height and distance from your backdrop to achieve the perfect illumination. Use a level to guarantee the hooks are straight; this helps maintain consistent light distribution. Make sure to measure the distance between each hook to avoid uneven lighting. Once installed, test the setup by adjusting the lights and observing their effect on your scene. Remember, flexibility in placement allows you to create dynamic lighting conditions, empowering your creative vision with every shot.
Safety Precautions Required
After ensuring your hooks are placed correctly for ideal illumination, it’s time to focus on safety precautions. Proper installation isn’t just about getting the right angle; it’s about ensuring hook stability and adhering to weight limits. You want your creativity to shine, not your worries!
- Always check the weight limits of your hooks.
- Use screws and anchors appropriate for your mounting surface.
- Inspect hooks regularly for any signs of wear or damage.
- Avoid overloading hooks with too many lights or equipment.
- Consider using safety cables for extra security.
Tips for Adjusting and Positioning Your Lights
How can you achieve the perfect lighting setup for your studio? Start by experimenting with light positioning. Place your fixtures at varying heights and distances to see how they interact with your subjects. Adjust fixture angles to create shadows that enhance depth and texture. Angling your lights towards the subject can produce a more flattering effect, while side lighting can add drama.
Don’t forget to take into account the color temperature of your bulbs; mixing different types can yield unique results. Finally, use a light meter to verify you’re achieving the desired exposure. Remember, it’s all about finding that sweet spot where creativity meets technical precision. Trust your instincts, and don’t hesitate to make adjustments until you find the perfect setup for your artistic vision.
Safety Considerations When Using Hooks
While you might be focused on achieving the perfect lighting setup, safety should never take a backseat when using hooks to mount your studio lights. Ensuring hook stability and understanding load capacity are essential for a secure installation. Here are some key safety considerations:
- Always check the manufacturer’s specifications for load capacity.
- Inspect hooks regularly for wear or damage.
- Use safety cables as a backup to prevent dropping lights.
- Distribute weight evenly across multiple hooks to avoid strain.
- Avoid overloading hooks beyond their rated capacity.
Maintaining Your Mounting Hooks
Ensuring the safety of your studio lighting setup doesn’t end with installation; regular maintenance of your mounting hooks is vital for long-term reliability. Start with hook inspection—check for any signs of wear, rust, or damage that could compromise their strength. If you spot anything concerning, it’s time to replace them.
Next, hook cleaning is important. Dust and grime can accumulate, impacting performance. Use a soft cloth and mild cleaner to wipe them down, ensuring you reach all crevices. For stubborn spots, a gentle brush may help.
Finally, don’t forget to periodically tighten screws and bolts. Keeping your hooks in top shape not only maintains safety but also gives you the freedom to focus on your creative pursuits without worry.
Alternative Mounting Solutions for Studio Lighting
If you’re looking for innovative ways to mount your studio lighting, exploring alternative solutions can open up new creative possibilities. These options allow you to release your artistic vision without the constraints of traditional mounting systems. Here are some alternative mounting options to contemplate:
- Wall-mounted brackets for adjustable angles
- Ceiling grids for overhead lighting flexibility
- Clamp mounts for quick and easy setup
- Tripod stands for portability and versatility
- Magnetic bases for unique placement
Embracing versatile hook designs can transform your space, enabling you to experiment with placements that enhance your work. Whether you’re shooting a dynamic video or capturing stunning photography, these alternatives give you the freedom to create without limits.
References
- https://en.wikipedia.org/wiki/Lighting_design
- https://www.nssg.org/
- https://www.asha.org/publications/
- https://www.thebalancecareers.com/lighting-design-2736147
- https://www.sciencedirect.com/topics/engineering/lighting-design
- https://www.lrc.rpi.edu/
- https://www.illuminatingengineering.org/
- https://www.doe.gov/energysaver/lighting
- https://www.iaea.org/topics/lighting
- https://www.ncbi.nlm.nih.gov/pmc/articles/PMC5627033/